
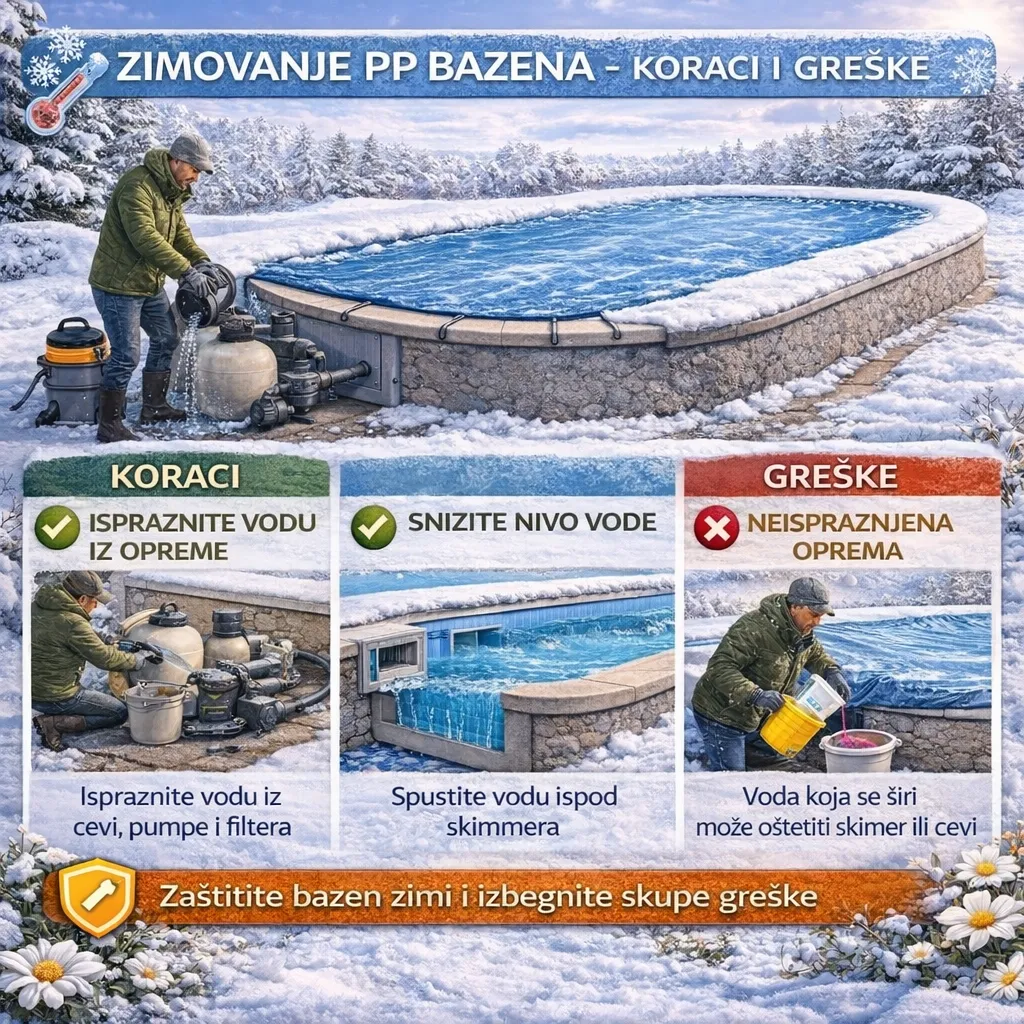
Winterising is a critical procedure for every PP (polypropylene) pool. The aim is to protect the pool and its equipment from frost, water freezing in the plumbing, and damage during the period when the pool is not in use. It is important to note that winter problems most commonly affect the equipment and pipes, not the PP shell itself – but only when winterising is carried out correctly.
When should winterising be done?
Winterising is typically carried out when water temperatures have fallen consistently and the pool is no longer in use. Waiting for the first frost is not recommended, as the risk rises sharply once temperatures drop below freezing.
Step 1: Thorough cleaning and water balancing
Before winterising, the pool is cleaned thoroughly: skimmer baskets, pump pre-filter, floor, and walls. The water is then brought to stable parameters (pH within the optimal range), because water that is "dirty" and unbalanced going into winter will cause problems in spring.
Step 2: Lowering the water level
The water level is reduced in accordance with the system type and built-in fittings. The aim is for the level to fall below critical components that could be damaged by ice (most commonly the skimmer and the plumbing connections). This should not be done arbitrarily, but in accordance with the system's specifications.
Step 3: Draining the plumbing and equipment
The most important part of winterising is ensuring that water does not remain trapped in the pipes and equipment:
drain the pump and filter,
drain heaters and heat exchangers if present,
blow out water from the pipework (using a compressor if required),
open valves and leave the system in a safe position.
Step 4: Protecting the skimmer and built-in fittings
The skimmer is protected with winter plugs and solutions that prevent ice pressure on the plastic and connections. For main drains and return jets, appropriate protection is fitted in accordance with the installation type.
Step 5: Ice compensators / floats
Floats or ice compensators are placed in the water to absorb ice expansion and reduce pressure on the structure and edges. This is particularly useful during very cold periods and on exposed sites.
Step 6: Cover (protective or winter)
A winter cover reduces the entry of dirt, leaves, and rainwater, makes spring opening easier, and reduces the need for extensive cleaning. The cover is selected according to the pool design and intended use.
Most common mistakes when winterising
waiting for the first frost and winterising too late,
leaving water in the pump, filter, or pipework,
incorrect water level (too high or too low),
unprotected skimmer and connections,
entering winter with a poor pH and dirty water,
improvising without a clear procedure.
The PP shell and winter
PP material withstands low temperatures well. When winterising has been done correctly, the PP shell remains stable, and bringing the pool back into service in spring is quick and stress-free. The greatest risk lies with the plumbing and equipment – which is why draining the system is the priority.
Conclusion
Winterising a PP pool is the procedure that protects your investment. The key steps are: cleaning and water balancing, correctly lowering the water level, fully draining the equipment and plumbing, protecting the skimmer, installing ice compensators, and fitting a cover. When these steps are followed, winter poses no problem – and in spring the pool starts up without surprises.