
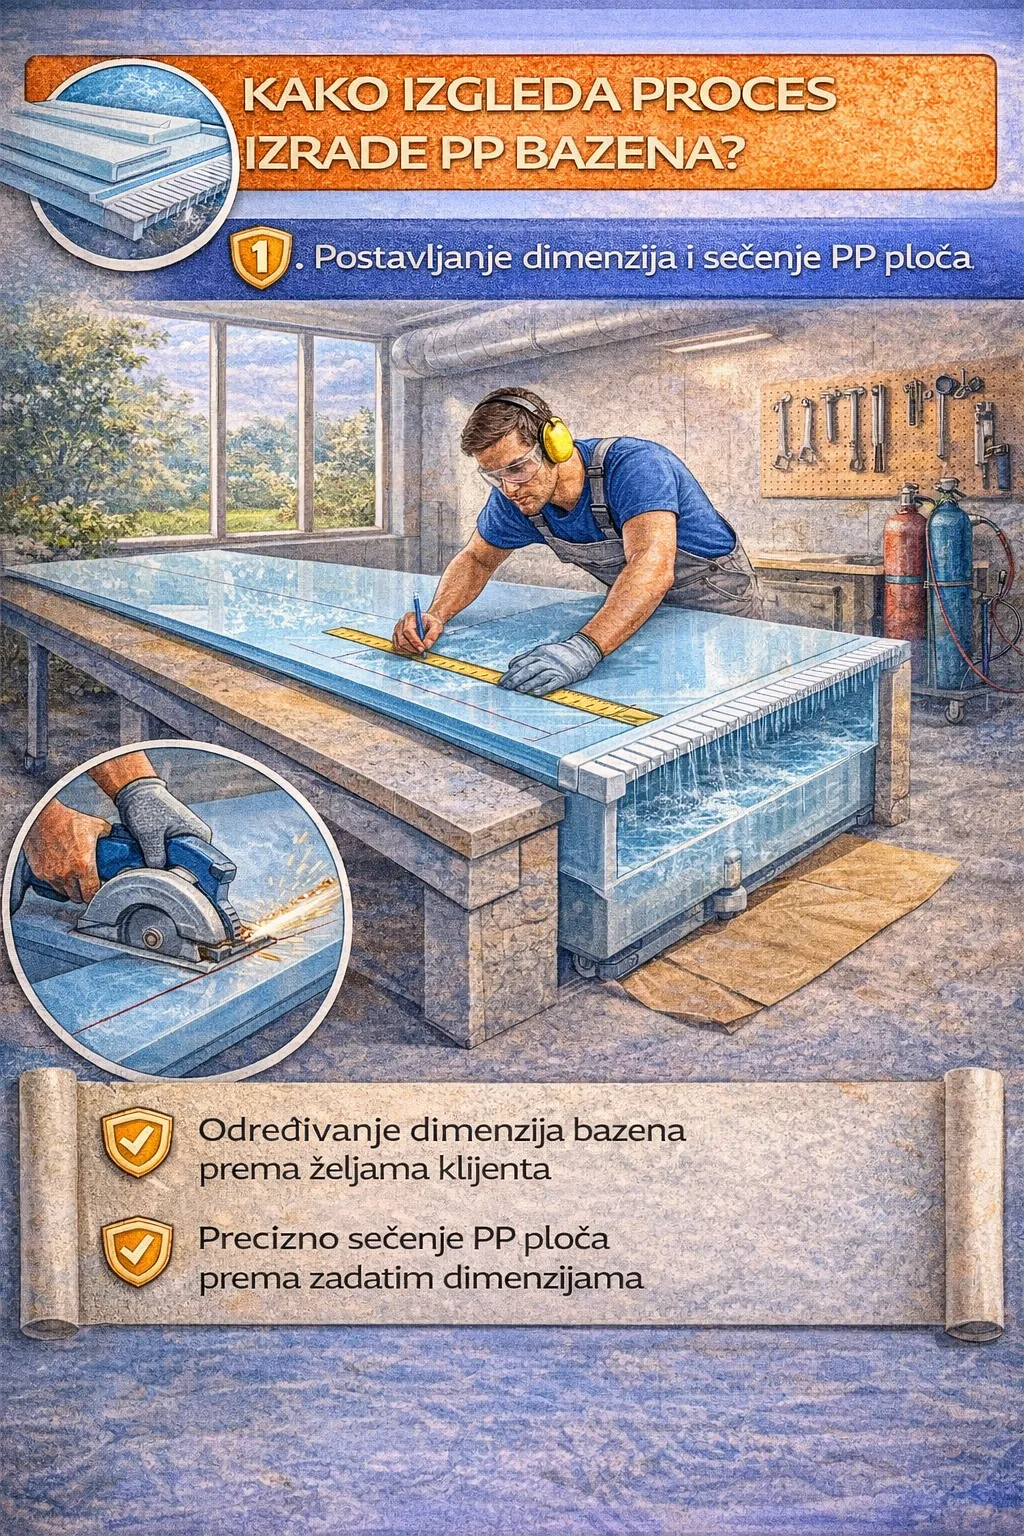
Manufacturing a PP (polypropylene) pool is a combination of precise planning, quality material, correct welding technique, and structural thinking. Although the customer usually sees only the finished shell, a good PP pool is built through a clear procedure: from design and sheet cutting, through welding and reinforcements, to installing built-in components and final quality control.
Below is a typical PP pool manufacturing workflow – explained in a way that is useful for first-time buyers and also works well as a forum/FAQ reference.
1) Planning and defining the specification
Everything starts with needs and the available space. The dimensions (length, width, depth), shape, steps, benches, shallow zones, equipment positions (skimmer, returns, lighting, drain), and the technical room layout are defined. In this phase you make decisions that directly impact comfort and maintenance: water circulation logic, number of returns, skimmer placement, and lighting positions.
Good planning means the pool is not only “nice on paper,” but functional, easy to maintain, and structurally stable.
2) Choosing the material and sheet thickness
PP sheets of the right quality and thickness are selected according to the pool’s size and structural concept. Material grade, consistency, and UV stabilization matter because they influence long-term durability and surface behavior. The compatible welding material (rods/electrodes) is also planned at this stage.
3) Cutting and preparing elements (CNC or precise cutting)
The PP sheets are cut to exact shapes: floor, walls, steps, benches, partitions, and any custom components. The more precise the cutting, the better the fit, the more stable the welds, and the more accurate the final geometry. Edge preparation and transition details are also prepared for correct welding.
4) Assembling the shell: floor + walls
The base geometry is formed first: the floor is joined with the walls, creating the main “tub” shape, and angles, flatness, and dimensions are checked. This is the foundation for all further work. Proper fixing and geometry control before welding reduce the risk of later deviations.
5) Welding: internal and external seams
Welding is the key of a PP pool. A weld must be continuous, without pores or breaks, without overheating, and without weak points. In practice, internal welds (visible from inside) and external welds (structural) are made. Depending on the technology, different tools may be used, but the goal is the same: strong bonding and watertightness.
At this stage, quality becomes visible: clean lines, consistent texture, and good seam finishing create both structural and aesthetic value.
6) Building and integrating steps, benches, and custom features
Steps, benches, shallow zones, and other shapes are manufactured as parts of the shell and integrated by welding. High-quality execution of these features improves daily comfort and often shows the builder’s level of craftsmanship.
7) Reinforcements (ribs) and structural stability
External reinforcements – ribs – are installed to stabilize walls and prevent deformation under the pressure of water and soil. This is not an optional extra; it is a critical structural element. Correctly engineered and placed ribs are one of the biggest differences between an excellent and an average PP pool.
8) Installing built-in components (skimmer, returns, lighting, drain)
Built-in components are installed and sealed according to professional standards. Precision is crucial: positions must be correct, connections must be reliable, and everything must match the planned hydraulics. Incorrect placement or poor sealing becomes expensive later, so this phase must be done calmly and without improvisation.
9) Quality control: geometry, welds, detailing
Before delivery, geometry is checked (dimensions, flatness, angles), welds are inspected (visually and by workmanship criteria), and all details are reviewed. Serious builders have clear internal standards: what is acceptable, what is repaired, and what is redone. This step separates “quick work” from professional manufacturing mentality.
10) Preparing for transport and installation
The finished shell is prepared for transport: protecting sensitive areas, preparing lifting points, and confirming logistics. A PP pool is a large element, and transport must be organized so the shell arrives without damage and can be safely placed into the excavation.
Important note: manufacturing and installation are one system
Even the best PP shell can have problems if installed incorrectly. That’s why the “process” in a broader sense includes site preparation: a stable base, drainage, insulation, and correct backfilling while filling with water. Only when these phases work together does a PP pool become a stable, durable, comfortable system.
Conclusion
The PP pool manufacturing process is a sequence of precise steps: planning, material selection, cutting, assembly, welding, reinforcements, component installation, and quality control. When each step is done professionally, the result is a shell that is watertight, structurally stable, visually clean, and ready to perform for many years. In PP pools, manufacturing quality is not a detail – it is the essence.